Create a tenant
Access tenants page
Navigate via the top menu Backoffice → Administration. By default, the Tenants submenu is displayed.
Let's use this screen to explain how the Avalon User Interface works.
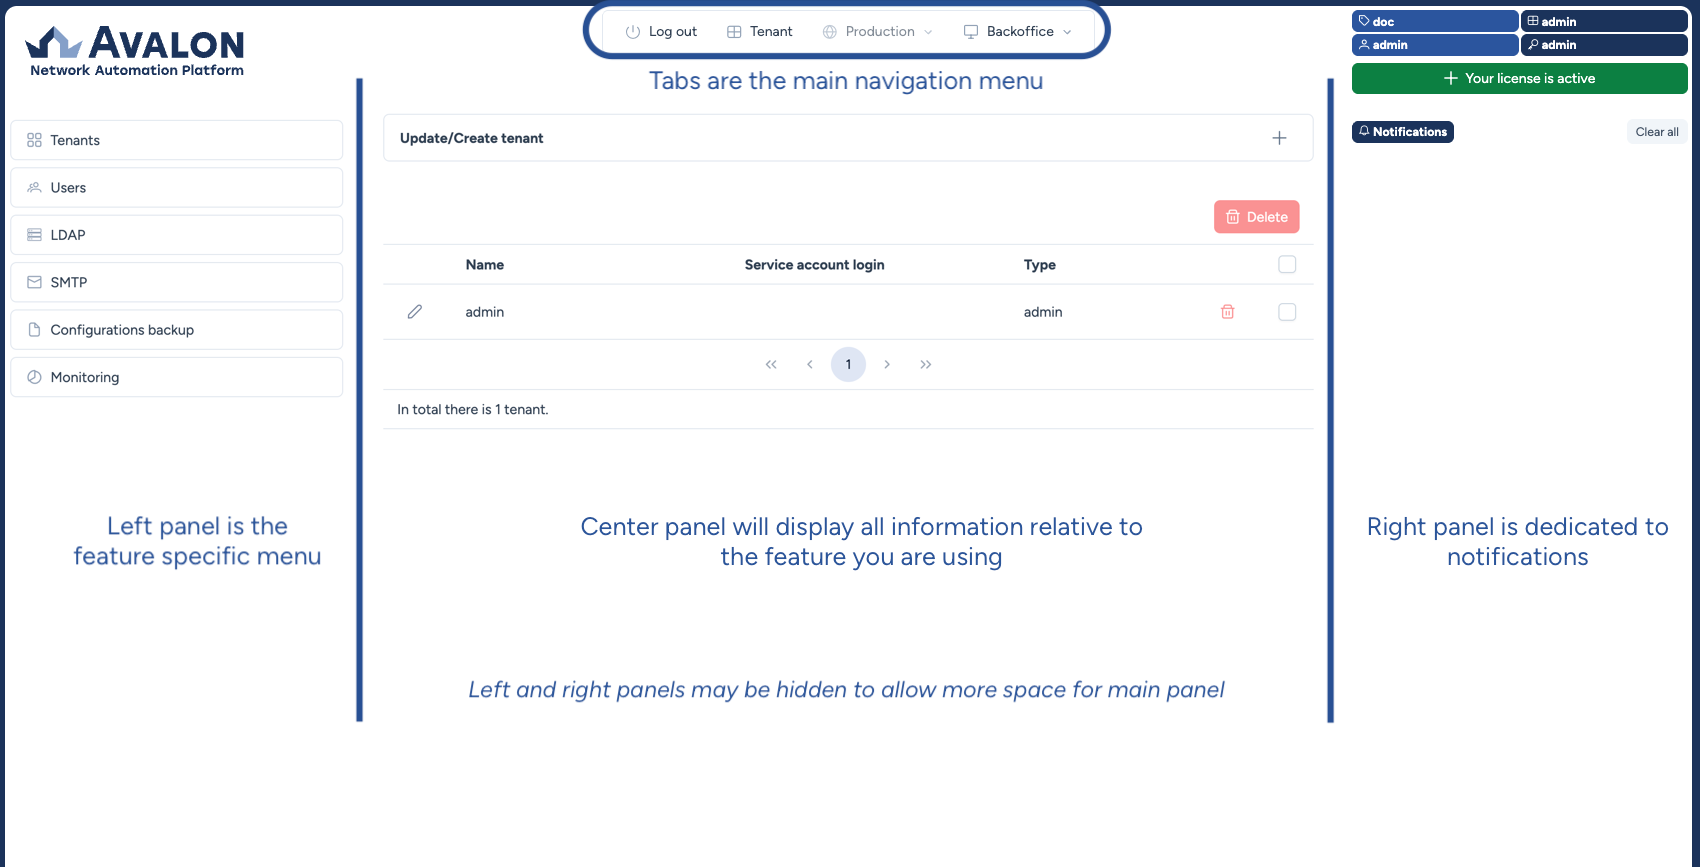
The central panel displays a collapsible component that allows you to create or update a tenant.
Note
In this documentation, a component refers to a UI element: form, dropdown list, button, datatable, etc.
Click the + sign on the right side of the component to open the creation form.
Below this component, a table lists the existing tenant(s). You can edit a tenant via the pencil icon or delete it via the trash icon.
Note
The admin tenant cannot be edited or deleted. It is not a production tenant: a regular tenant is one where you add your devices and manage your network.
Create a tenant
Let's create a new tenant. The form includes:
- Name: A mandatory name for your tenant.
Authentication settings
- Force user credentials (instead of service accounts): When enabled, Avalon uses the logged-in user's credentials instead of a service account for device operations.
- Credential cache TTL (seconds): Duration for which user credentials are cached. Default value: 3600 (1 hour).
- Service account to use: The service account to use for this tenant. Service accounts are managed from the Service Accounts page.
For this initial setup, enter a name and select a service account:
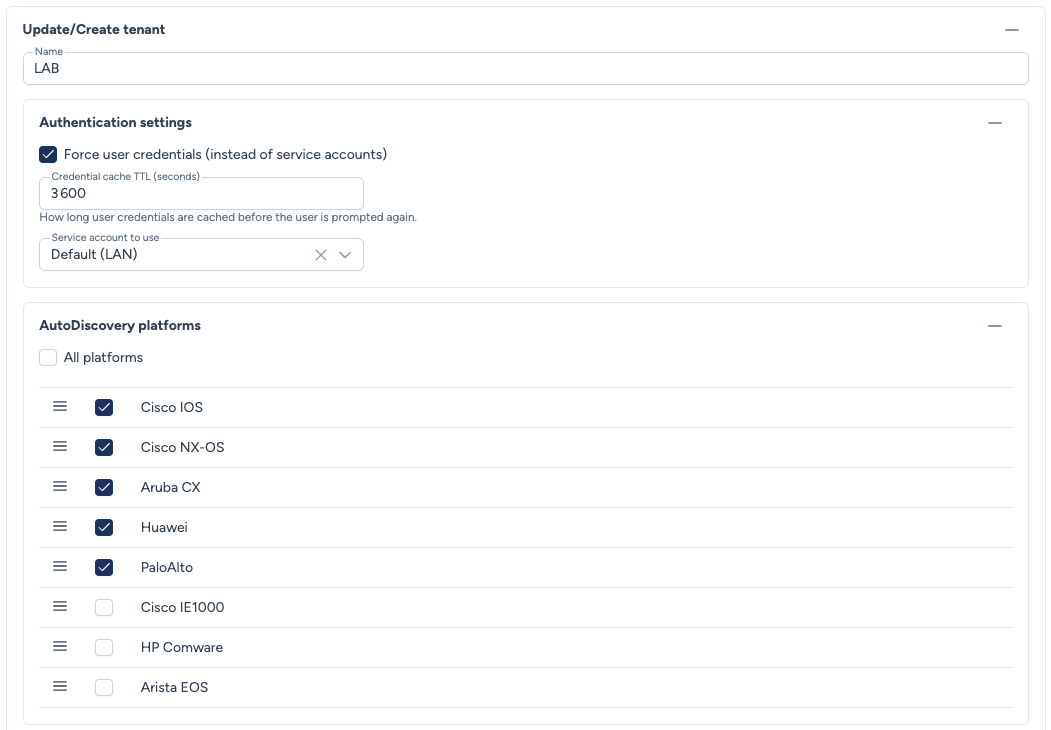
For the full details on all options (SoT, AutoDiscovery platforms), see the Tenants page.
Move to user creation!
Now that you have created a regular tenant, it's time to create your first user.